Table of Contents
Table of Contents
Homemade jelly is a quiet kind of joy—especially when you’re canning grape jelly from scratch. In this guide, we’re diving into a safe, tried-and-true method for canning grape jelly at home using a water bath, all while keeping the flavor bold and the texture smooth. Whether you’re working with fresh Concord grapes or bottled juice, there’s a rhythm to the process that becomes second nature. We’ll cover everything from the juice-to-sugar ratio to the exact processing time, step by step. Along the way, I’ll share a personal story and practical tips that will help you feel confident in your kitchen, even if it’s your first time canning.
Now, let’s start with the heart of it all—why this sweet, deep purple jelly means so much in my kitchen.
Why Canning Grape Jelly Became My Fall Tradition
A kitchen memory that stuck with me
Every fall growing up, the scent of sweet Concord grapes would drift through the house. My mom didn’t just make grape jelly—she made a whole event out of it. While she stirred bubbling pots and tested spoonfuls for doneness, I helped wash jars and sample the foamy bits she skimmed from the top. That’s how my love for canning grape jelly started—right there in our cozy kitchen, where every “pop” of a sealed lid felt like a little success.
Now as an adult, I keep that tradition alive with my own twist. Canning grape jelly is more than a recipe—it’s a ritual. Each fall, I set up my canning station, prep the jars, and get my juice and sugar ready. It’s soothing, satisfying, and incredibly useful. Once you try it, you’ll see how easy it is to make your pantry work for you.
If you love homemade staples, check out how I make veganes gelee with natural ingredients. You might also enjoy my method for creating calabrese peppers in small batches, another great way to preserve produce.
Why canning grape jelly is worth every jar
You don’t need a high-end setup to start canning grape jelly. Just a water bath canner, a few jars, and the right ratio of juice to sugar. Once you’ve made your first batch, you’ll want to stock up year-round. It’s a great way to cut down on food waste and fill your shelves with something you made from scratch.
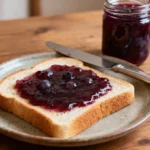
Beyond toast, grape jelly pairs beautifully with savory dishes. Melt it into sauces, brush it over grilled chicken, or use it in jammy eggs for a surprising twist. The point is: canning grape jelly isn’t just fun—it’s practical, nostalgic, and incredibly satisfying.
And if you’ve never tried it? Now’s the time. Grab your jars—we’re just getting started.
How to Water Bath Can Grape Jelly the Right Way
Step-by-step guide for safe home canning
Canning grape jelly at home using a water bath is safe and beginner-friendly when done correctly. This method preserves jelly by sealing it in sterilized jars, making it shelf-stable for up to a year. You don’t need any fancy equipment beyond a large pot, rack, and jars with lids.
Here’s a step-by-step guide to canning grape jelly:
- Sterilize your jars – Wash and boil your jars and lids for at least 10 minutes. Keep them warm until ready.
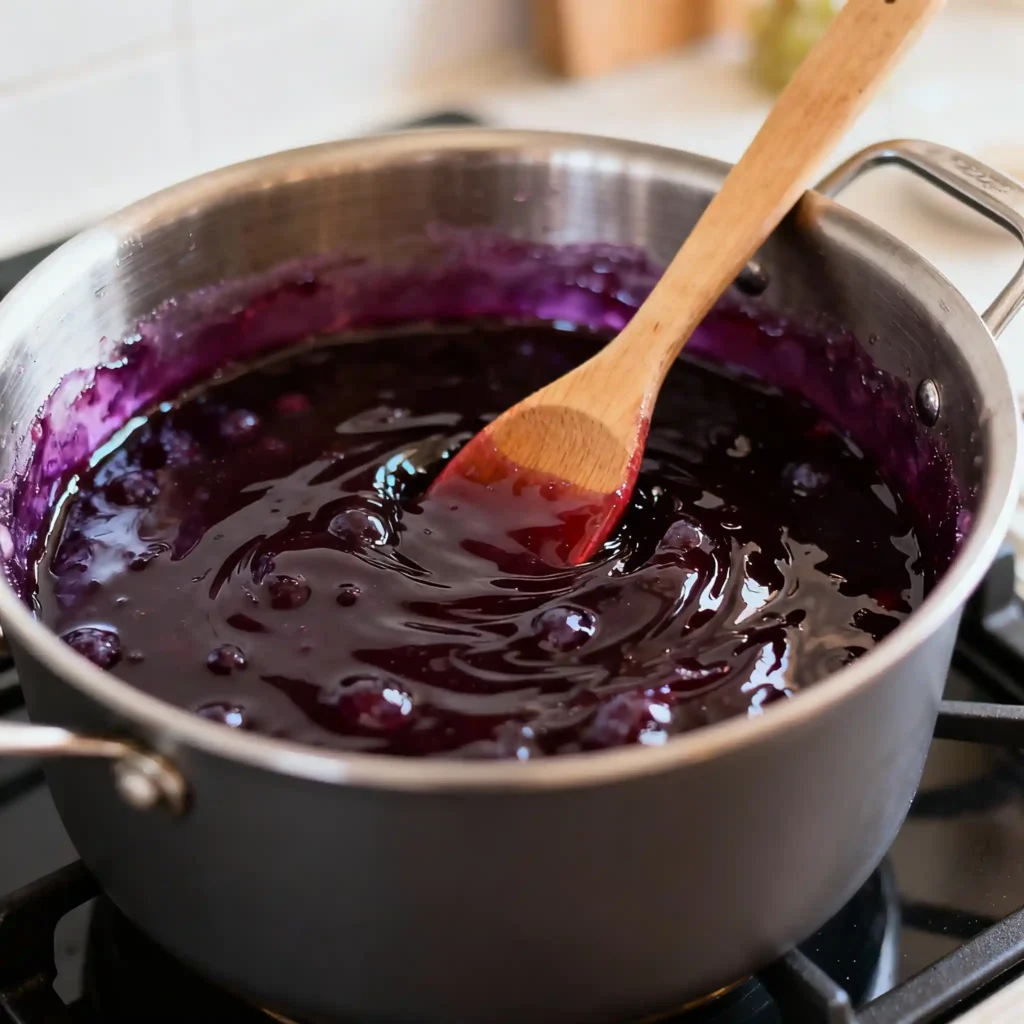
- Make the jelly – In a pot, combine grape juice and sugar using the right ratio (usually 1:1), add pectin if needed, and bring to a rolling boil while stirring.
- Fill the jars – Using a funnel, pour the hot jelly into jars, leaving 1/4-inch headspace. Wipe rims clean.
- Seal the jars – Place lids and bands on just fingertip-tight. Don’t overtighten.
- Process in water bath – Lower jars into boiling water, ensuring they’re fully submerged. Process for 10 minutes (adjust for altitude).
- Cool and test – Remove jars, let them sit for 24 hours. Press the center of each lid; if it doesn’t flex, it’s sealed.
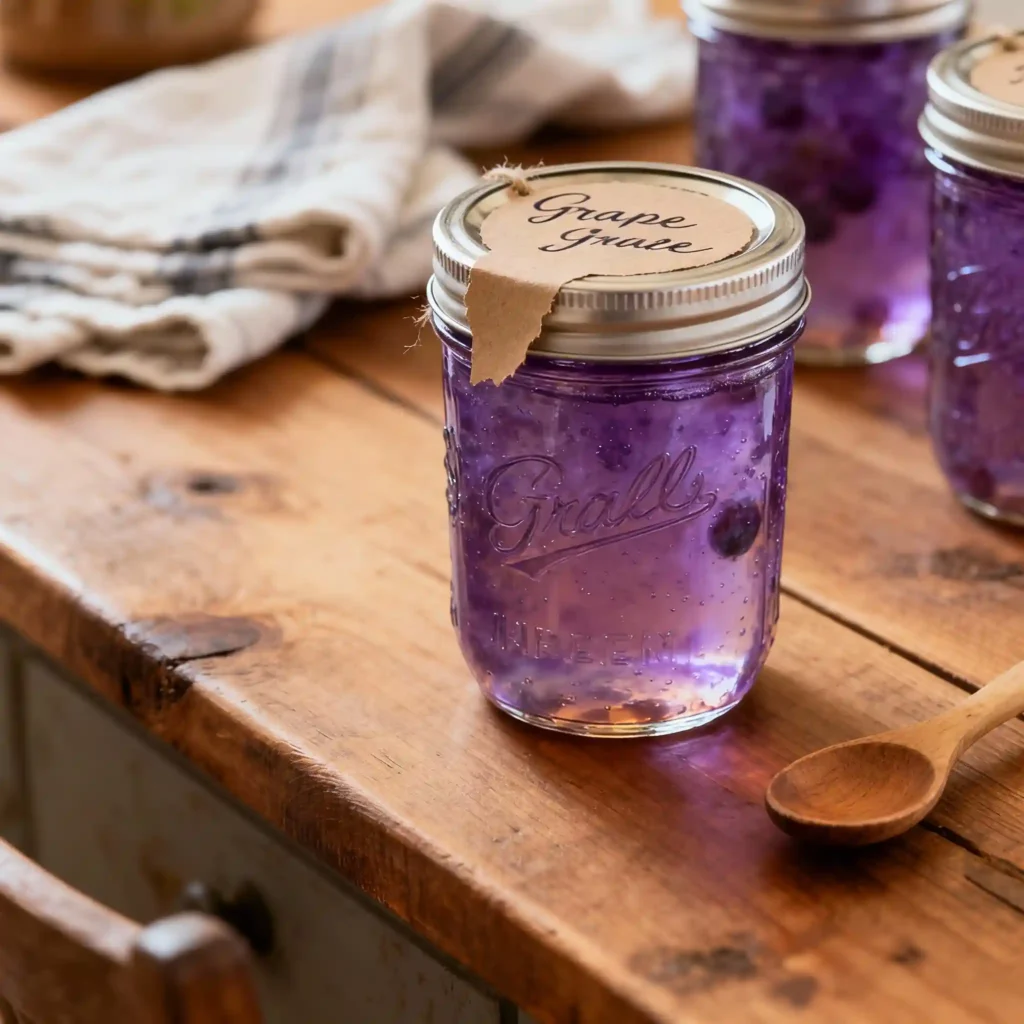
That’s it! Now you’ve got beautiful jars of grape jelly ready for breakfast, gifting, or flavor-packed cooking.
If you’re into pantry staples like this, my pink salt weight loss recipe is another homemade mix that’s simple, safe, and shelf-stable. For more everyday kitchen tips, check out the recipe I developed for homemade mini corn dogs—a freezer-friendly treat the whole family loves.
What you need to get started
Before you begin canning grape jelly, here’s a quick checklist of basic tools:
Equipment and Why You Need It for Canning Grape Jelly
Large pot or water bath canner
You’ll need this to fully cover your jars in boiling water. It ensures your jelly seals correctly and stays shelf-stable.
Jar lifter
This tool keeps your hands safe while lifting hot jars out of the water. It gives you better grip and control during processing.
Canning jars with lids and bands
These jars are made for the job. They hold your jelly and help create that tight seal needed for proper storage.
Funnel and ladle
These make filling jars much easier and way less messy. Hot jelly pours smoothly, and cleanup is quick.
Make sure to have all your ingredients prepped and your jars hot before you begin. Timing matters when you’re canning grape jelly, especially for getting a proper seal.
Juice Ratio & Timing for Canning Grape Jelly
How much sugar do you really need?
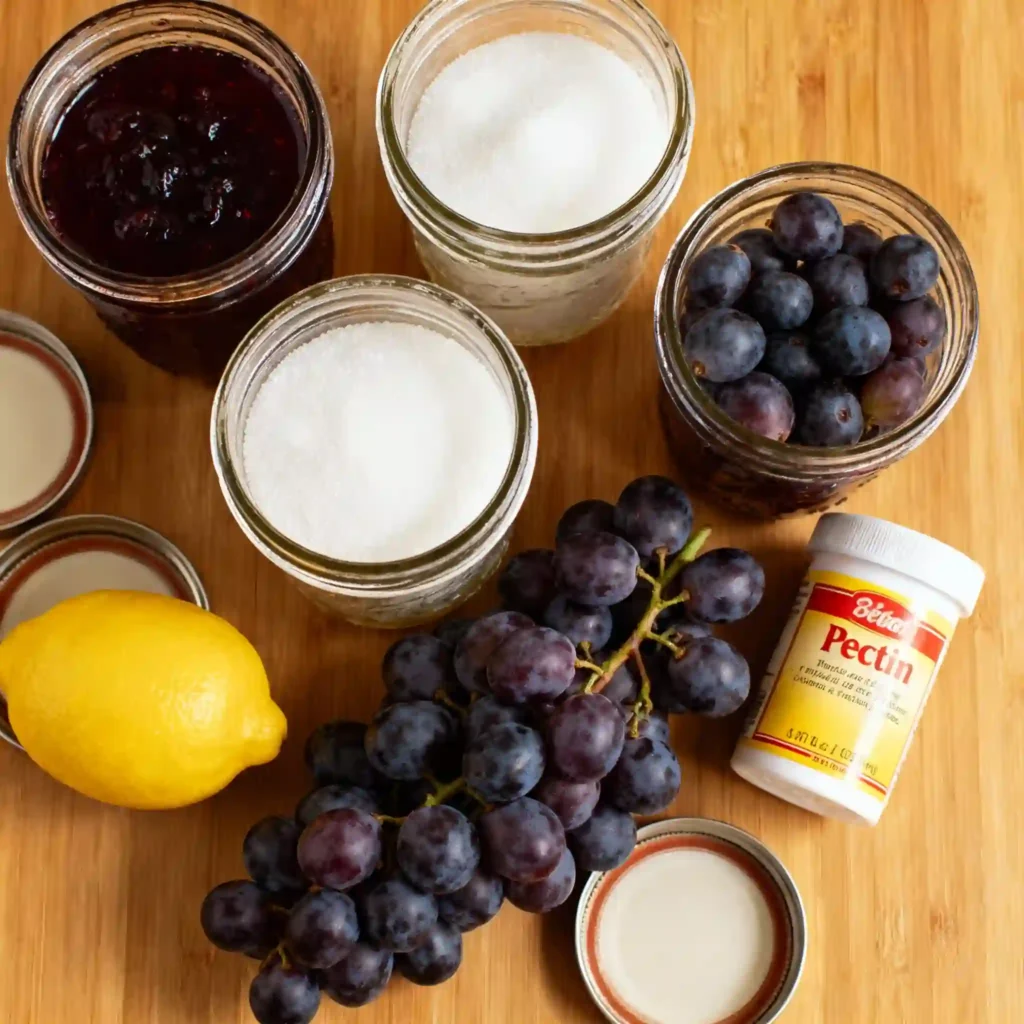
The most common question when canning grape jelly is, “What’s the right juice-to-sugar ratio?” If you’re using commercial pectin, the standard is 4 cups of grape juice to 7 cups of sugar. Yes, it sounds like a lot—but that balance ensures the jelly sets properly and preserves safely.
For lower sugar or natural options, you’ll want to use low-sugar pectin and follow the box directions carefully. Cutting the sugar too much without adjusting the pectin will give you syrup, not jelly. Homemade juice from fresh Concord grapes often needs straining, so be sure to measure only the final juice after filtering.
Quick reference table:
| Grape Juice | Sugar (with regular pectin) | Sugar (with low-sugar pectin) |
|---|---|---|
| 4 cups | 7 cups | 3 to 4 cups |
| 5 cups | 8.5 cups | 4 to 5 cups |
Want to go totally pectin-free? You’ll need to cook the jelly longer and test for natural gel. It’s doable—but expect a softer texture and slightly reduced yield.
I use this same method for other homemade staples like lemon balm detox drinks, which also balance strong flavor with just the right sweetness. If you enjoy experimenting, try the vegan oatmeal cookies on the blog—great with a swipe of fresh jelly.
How long does it take to process grape jelly?
The actual processing time for canning grape jelly is 10 minutes in a boiling water bath. But that’s only the final step. Here’s how the full timeline usually breaks down:
- Prep time: 30 minutes (sterilizing jars, making juice if needed)
- Cooking jelly: 15–20 minutes
- Jar filling + cleanup: 10–15 minutes
- Water bath processing: 10 minutes
- Cooling & sealing: 12–24 hours (passive)
So from start to finish, canning grape jelly takes about 1.5 to 2 hours, depending on how organized you are and whether you’re starting with bottled or homemade juice.
You’ll know your jelly has set when you press the lid after 24 hours and it doesn’t flex. If it still moves or sounds hollow, store that jar in the fridge and use it within a few weeks.

FAQs About Canning Grape Jelly
Can you water bath can grape jelly?
Yes, you can absolutely use a water bath method for canning grape jelly. It’s the safest and most effective way to preserve high-acid foods like jelly at home. Just make sure to process the filled jars in boiling water for at least 10 minutes (adjust for altitude), ensuring they’re completely submerged. This method helps kill bacteria and seal the jars properly for long-term storage.
Is it safe to can grape jelly at home?
It’s completely safe to can grape jelly at home when you follow proper steps. Stick with tested recipes, use sterilized jars, and follow the water bath canning method. The high sugar content and acidity of grapes help prevent spoilage, especially when paired with clean tools and correct processing times. Homemade canning grape jelly is both safe and satisfying when done right.
What is the ratio of juice to sugar for jelly?
For classic canning grape jelly using regular pectin, the typical ratio is 4 cups of grape juice to 7 cups of sugar. If you’re using low-sugar pectin, you can cut the sugar down to about 3–4 cups. Always follow the instructions on your pectin brand to ensure your jelly sets properly. For pectin-free
How long does it take to process grape jelly canning?
The processing time in a water bath for canning grape jelly is 10 minutes once the jars are fully submerged and boiling. From start to finish—including cooking, filling, and cooling—it takes about 1.5 to 2 hours to complete the whole canning grape jelly process. The sealed jars should cool undisturbed for 12–24 hours before storing in your pantry.
Canning Grape Jelly: Easy, Safe, and Shelf-Stable Sweetness
- Total Time: 1 hour 30 minutes
- Yield: 6 half-pint jars
- Diet: Vegetarian
Description
This classic grape jelly is made for canning with a safe water bath method. Perfect for toast, gifting, and stocking your pantry year-round.
Ingredients
4 cups grape juice (fresh or bottled)
7 cups granulated sugar
1 packet (1.75 oz) fruit pectin
1 tbsp lemon juice (optional for tartness)
Instructions
1. Sterilize jars and lids in boiling water.
2. In a large pot, combine juice and pectin. Bring to a boil.
3. Add sugar all at once, stir well. Return to a full rolling boil.
4. Boil 1 minute, stirring constantly.
5. Skim foam if needed. Ladle hot jelly into hot jars.
6. Wipe rims, add lids, and screw on bands.
7. Process jars in boiling water bath for 10 minutes.
8. Remove jars, cool for 12–24 hours, and check seals.
Notes
For low-sugar versions, use low-sugar pectin.
Adjust processing time if you’re above 1,000 ft elevation.
- Prep Time: 30 minutes
- Cook Time: 20 minutes
- Category: Preserves
- Method: Water Bath Canning
- Cuisine: American
Nutrition
- Serving Size: 1 tbsp
- Calories: 50
- Sugar: 12g
- Sodium: 0mg
- Fat: 0g
- Saturated Fat: 0g
- Unsaturated Fat: 0g
- Trans Fat: 0g
- Carbohydrates: 13g
- Fiber: 0g
- Protein: 0g
- Cholesterol: 0mg


