Table of Contents
Table of Contents
There’s something magical about canning blackberry jam — the deep purple hue, the tangy sweetness, and that unmistakable scent of summer simmering on the stove. Whether you picked wild berries from the brambles or brought home a basket from your local farmer’s market, this recipe turns fleeting moments into something lasting. In this guide, we’ll cover every step of canning blackberry jam, from preparing the fruit to safely sealing your jars for storage. You’ll learn the difference between using pectin and going without, how long to process your jam, and why a water bath is the key to shelf stability.
The Story & Intro to Canning Blackberry Jam
A Taste of Summer in a Jar
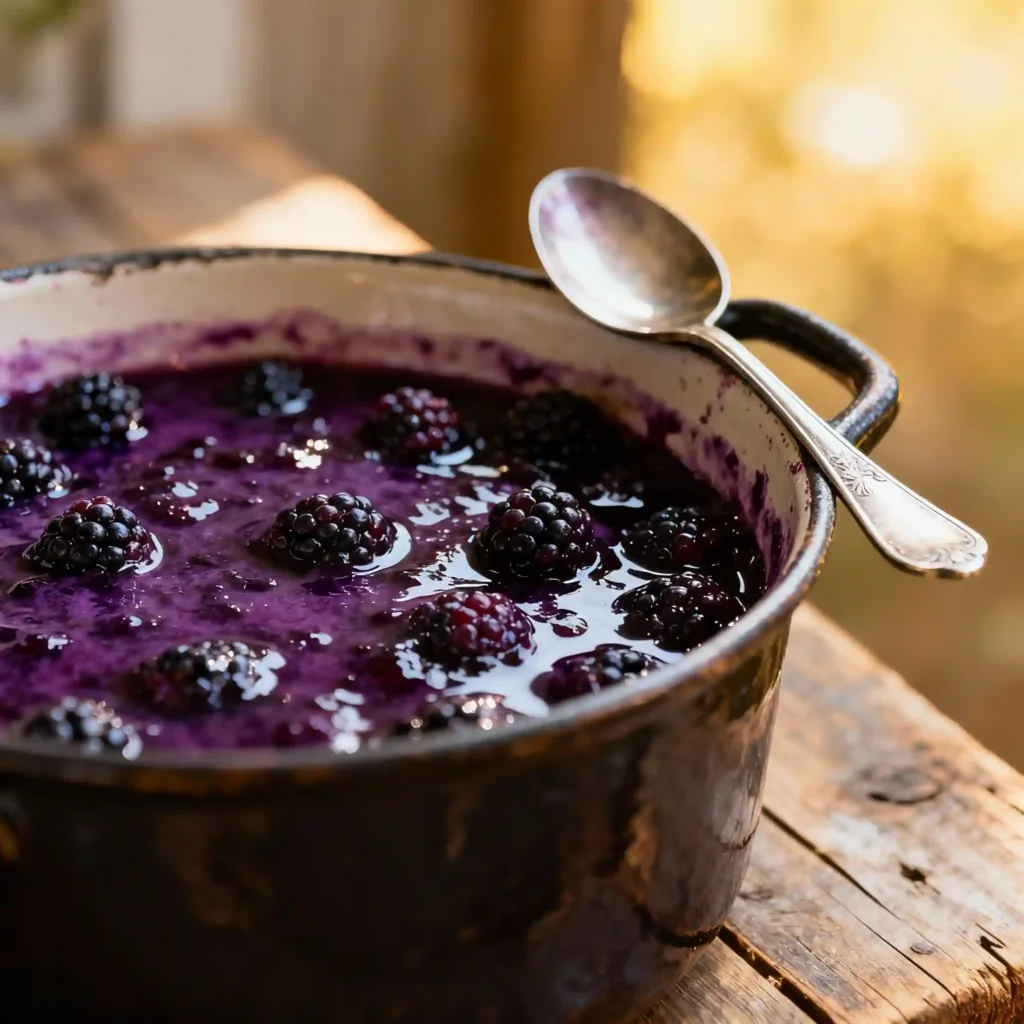
When I was a kid, my grandmother would hand me a tin pail and send me down the hill behind her house, where blackberry bushes grew wild and free. The berries stained my fingers a deep violet as I filled the bucket, one juicy handful at a time. Later that afternoon, her kitchen smelled like sunshine — sugar bubbling with berries as she stirred the pot with a wooden spoon. She called it “putting up summer,” and that’s exactly what canning blackberry jam does: it captures the warmth of July in every spoonful you’ll spread over toast in January.
I remember watching those filled Mason jars line up on the counter, the soft “pop” of lids sealing one by one. It was the sound of care, of patience, and of tradition. Back then, it felt like magic — and in a way, it still does. Now, when I make blackberry jam for canning in my own kitchen, I follow the same steps she did, adding a few modern touches for ease and safety.
If you’re new to preserving, don’t worry — canning blackberry jam is one of the easiest ways to start. It doesn’t require special equipment beyond jars, lids, a large pot, and a little attention to detail. Before long, you’ll have a pantry full of homemade jam that tastes better than anything from a store.
If you love the joy of fruit preserving, you’ll also enjoy my Canning Grape Jelly — a timeless pantry classic — or the deep, luscious flavor of Canning Blueberry Jam, another perfect small-batch favorite.
Why Home-Canned Blackberry Jam Is Worth It
Making your own blackberry jam isn’t just about saving money — it’s about taste, connection, and pride. Store-bought jams are often loaded with additives, but when you’re canning blackberry jam at home, you control every ingredient. You’ll taste the difference in freshness right away. The berries retain their bold flavor, and the jam sets beautifully whether you use pectin or rely on natural fruit sugars.
There’s also something deeply satisfying about lining your shelf with jars you’ve made yourself. Each one feels like a little victory — a symbol of patience, love, and resourcefulness. And unlike so many recipes that vanish after dinner, this one lasts for months, even years, when sealed properly.
It’s also a skill that connects generations. A row of jars cooling on the counter feels like a small triumph — a keepsake you created. If you’re inspired by the craft, see my Canning Raspberry Jam for another berry preserve that brightens breakfast tables.
Key Ingredients at a Glance
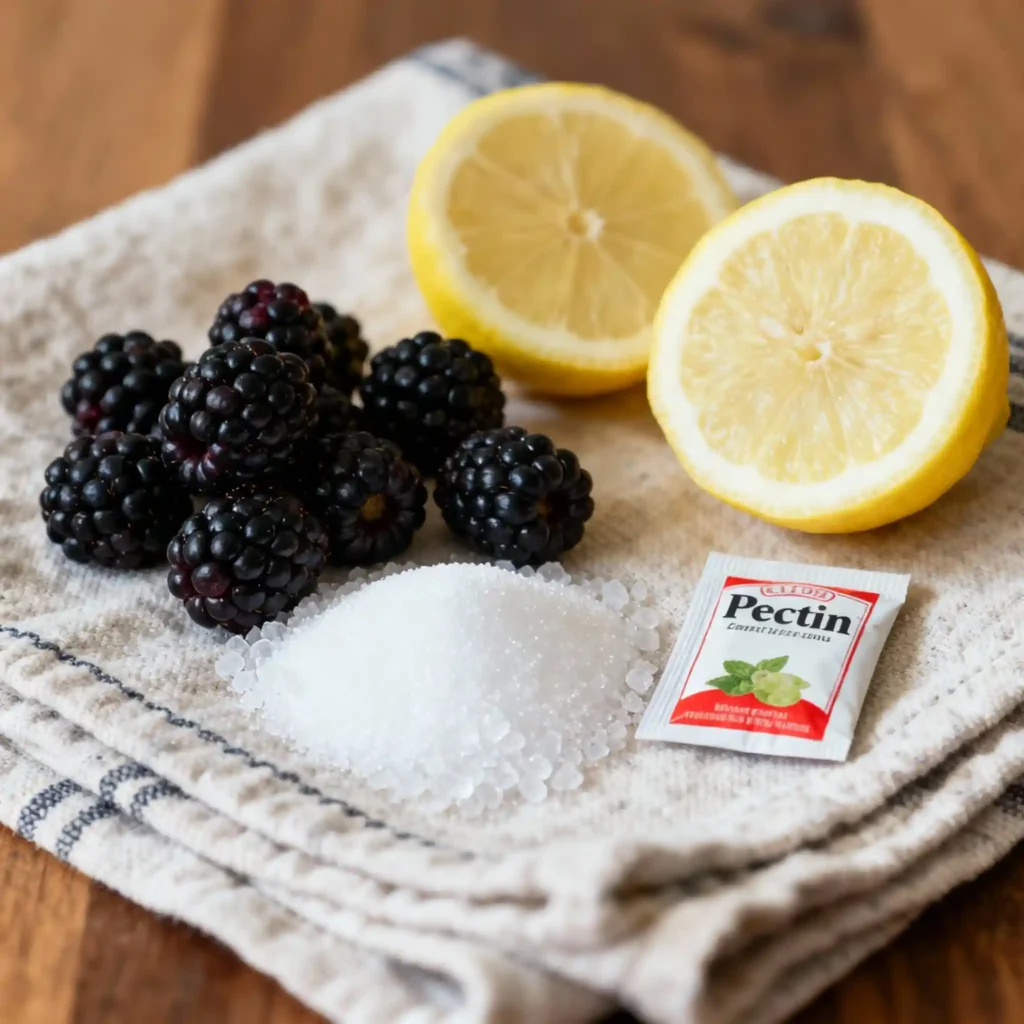
Here’s what you’ll need for a small-batch canning blackberry jam recipe:
| Ingredient | Amount | Purpose |
|---|---|---|
| Fresh Blackberries | 4 cups | Main fruit base for jam |
| Granulated Sugar | 3 ½ cups | Sweetens and thickens jam |
| Lemon Juice | 2 tablespoons | Adds acidity and helps the jam set properly |
| Pectin (optional) | 1 box (1.75 oz) | Speeds up thickening and ensures a firm texture |
You’ll also need clean Mason jars, new lids, and a large pot or canner for water bathing. These tools make sure your jam seals safely and stays fresh for months.
Internal Thoughts Before Moving On
In the next section, we’ll cover how to prepare and process your blackberry jam safely — from sterilizing jars to ensuring your jam sets perfectly every time. We’ll also answer popular questions like “Does blackberry jam need a water bath for canning?” and “How long do you process blackberry jam?”
Now that you know the story and the heart behind this recipe, it’s time to roll up your sleeves and get cooking.
Preparing and Canning Blackberry Jam Safely
The Simple Steps to Start Canning Blackberry Jam
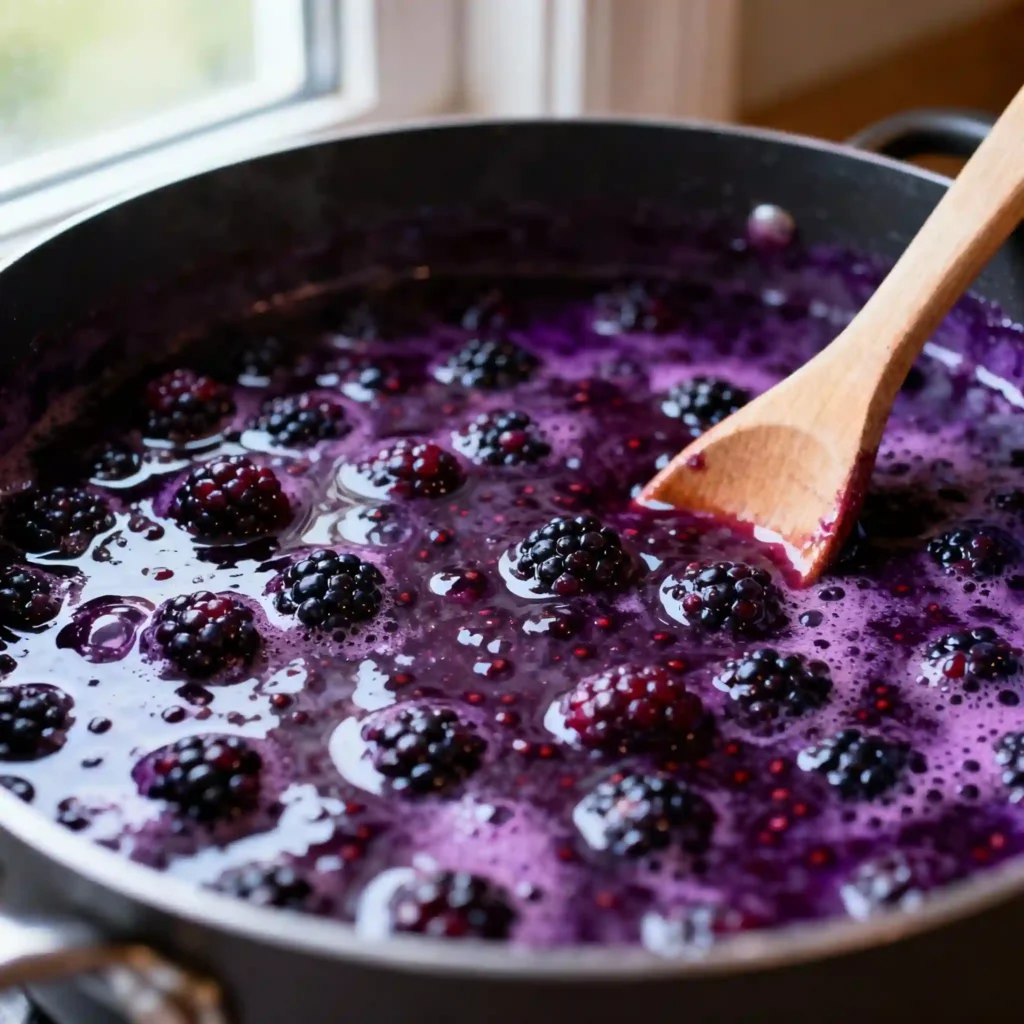
Once your ingredients are ready, it’s time to turn those ripe berries into beautiful jars of homemade jam. Begin by rinsing your blackberries gently under cool water, removing any stems or leaves. Place them in a large, heavy-bottomed pot, and crush them lightly with a potato masher. Don’t worry if the mixture looks a little chunky — those bits of fruit add great texture.
Next, stir in the sugar and lemon juice. Set the pot over medium-high heat and stir until the sugar dissolves completely. Bring the mixture to a rolling boil, stirring frequently to prevent sticking. If you’re using pectin, add it according to the package instructions. Without pectin, you’ll need to boil the jam a bit longer until it thickens naturally.
To test if your canning blackberry jam is ready, place a small spoonful on a chilled plate. If it wrinkles slightly when pushed, it’s set. If not, cook it for another minute or two and test again. Patience here makes all the difference.
Test by dropping a bit on a cold plate — if it wrinkles, it’s ready. Skim any foam for a glass-clear finish. For reference, my Canning Apple Jelly guide shows this same wrinkle-test method for achieving the perfect set.
When your jam reaches the right consistency, skim off any foam that forms on top. It won’t hurt the flavor, but removing it gives your jars a clear, glossy finish.
Does Blackberry Jam Need a Water Bath for Canning?
Yes — blackberry jam needs a water bath for safe, long-term storage. Even though jam has a high sugar content, which naturally helps prevent spoilage, the water bath process ensures that no bacteria or mold can survive. It’s an essential step for shelf stability and peace of mind.
Here’s how to do it:
Fill your canning pot or a deep stockpot halfway with water and bring it to a gentle boil. Place your filled jars inside, making sure they’re completely submerged. Once the water returns to a boil, process the jars for about 10 minutes (adjust for altitude if needed). After that, carefully remove them using a jar lifter and set them on a towel to cool.
As they rest, you’ll hear that satisfying pop — the lids sealing tight. Let the jars sit undisturbed for 12 to 24 hours before checking the seals. Press the center of each lid; if it doesn’t flex up and down, it’s sealed properly. Any jars that didn’t seal can be stored in the fridge and enjoyed within a few weeks.
If you want to try a creative twist later, my Calabrese Peppers post shows how home canning isn’t just for sweet recipes — it works wonderfully for savory preserves, too.
Quick Reference: Canning Blackberry Jam Steps
| Step | Action | Tip |
|---|---|---|
| 1 | Wash and crush blackberries | Use a masher for even texture |
| 2 | Add sugar and lemon juice | Stir constantly to dissolve sugar |
| 3 | Boil until thick | Test jam on a chilled plate |
| 4 | Skim off foam | Creates clear, smooth jam |
| 5 | Fill sterilized jars | Leave ¼ inch headspace |
| 6 | Process in water bath | Boil jars for 10 minutes |
| 7 | Cool and check seals | Lids should not flex when pressed |
Safety Notes
Always start with sterilized jars and new lids. Never reuse old lids, as they might not seal properly. Also, ensure your jam reaches at least 220°F (the setting point for most fruit jams). Using a candy thermometer can make this step foolproof.
If you’re short on time but still want that homemade touch, try making small refrigerator batches instead. Simply skip the water bath and store the jars in your fridge for up to 3 weeks.
Setting and Processing Blackberry Jam
Will Blackberry Jam Set Without Pectin?
Absolutely — blackberry jam can set beautifully without pectin. The key lies in balancing sugar, heat, and time. Blackberries naturally contain pectin, especially when slightly underripe. If you cook them long enough with sugar and lemon juice, the jam thickens on its own. The process just takes a bit more patience.
To make blackberry jam without pectin, simmer the crushed berries with sugar and lemon juice for about 20 to 25 minutes. Keep stirring to avoid burning. As the jam cooks, water evaporates, concentrating both flavor and texture. You’ll know it’s ready when it passes the wrinkle test — drop a spoonful onto a cold plate and gently push it with your finger. If it wrinkles instead of running, your jam has set.
One trick I learned over the years: don’t rush the boil. A slow, steady simmer brings out the fruit’s natural flavor while creating that perfect jammy texture. If you’ve ever made our Veganes Gelee, you’ll notice a similar process — simple, natural, and full of real fruit flavor.
If you prefer a guaranteed firm set, you can follow my Canning Blackberry Jam Secrets tutorial — it covers timing and gel testing in detail.
How Long Do You Process Blackberry Jam?
The processing time for canning blackberry jam depends on your altitude and the size of your jars. Most recipes call for a 10-minute water bath, which ensures the jam seals properly and remains shelf-stable. However, if you live at higher elevations, you’ll need to increase that time slightly. Here’s a simple guide to help you out:
| Altitude (feet) | Processing Time (minutes) | Notes |
|---|---|---|
| 0–1,000 ft | 10 minutes | Standard boiling time for most areas |
| 1,001–3,000 ft | 15 minutes | Add 5 minutes to ensure full seal |
| 3,001–6,000 ft | 20 minutes | Slightly longer boiling time required |
| 6,001+ ft | 25 minutes | Helps jars seal in thinner air |
Always start timing once the water returns to a full boil. After processing, carefully lift the jars with a lifter and let them cool on a towel for 12–24 hours. Don’t tilt or press the lids while they’re sealing — that famous pop sound means it’s working.
After cooling, store your jars in a cool, dark place. Properly sealed canned blackberry jam will last up to 18 months without losing flavor or quality. For short-term storage, you can also refrigerate your jam and enjoy it within a few weeks.
The same approach works for other fruits — try adapting it for Canning Blueberry Jam or Canning Apple Jelly to stock your pantry with a rainbow of preserves.
Quick Tips for Perfect Jam Every Time
- Use slightly underripe berries. They contain more natural pectin.
- Add sugar slowly. Dumping it all at once can cause crystallization.
- Keep stirring. Consistent motion prevents scorching.
- Test often. The wrinkle test ensures your jam is just right.
- Label your jars. Include the date so you can enjoy them in the right order.
Homemade blackberry jam for canning tastes best when shared. Gift a jar with a handwritten label, or serve it over biscuits for a simple morning treat.
How to Can Blackberries in Mason Jars
Canning blackberries in Mason jars follows the same trusted method used for jam. Start by washing the jars in hot, soapy water, then sterilize them in boiling water for at least 10 minutes. Prepare your blackberries — whether you’re making jam or simply preserving whole berries — by heating them gently in a pot with sugar until the juices release.
Ladle the hot mixture into warm Mason jars, leaving about ¼ inch of headspace at the top. Wipe the rims clean, place new lids on each jar, and screw the bands fingertip-tight. Next, lower the jars into a boiling water bath, ensuring they’re fully submerged. Process for 10–15 minutes, then carefully remove and place on a towel to cool.
Once the jars have sealed (you’ll hear that satisfying pop), label them with the date. Properly canned, they’ll stay fresh for over a year in your pantry. You can use the same technique with other fruits, like the ones in my Lemon Tart Recipe or the refreshing Pineapple Cucumber Salad — perfect pairings for homemade jam.
Quick FAQ Roundup
Does blackberry jam need a water bath for canning?
Yes. A 10-minute boiling water bath ensures your jars are sealed safely and shelf-stable.
Will blackberry jam set without pectin?
Yes. Blackberries naturally contain pectin; cooking them with sugar and lemon juice helps achieve a perfect set.
How long do you process blackberry jam?
Process jars for 10 minutes at low altitudes, increasing time for higher elevations (see table above).
How to can blackberries in mason jars?
Sterilize jars, fill with hot fruit mixture, leave ¼ inch headspace, and process in a water bath for 10–15 minutes.
The Joy of Homemade Blackberry Jam
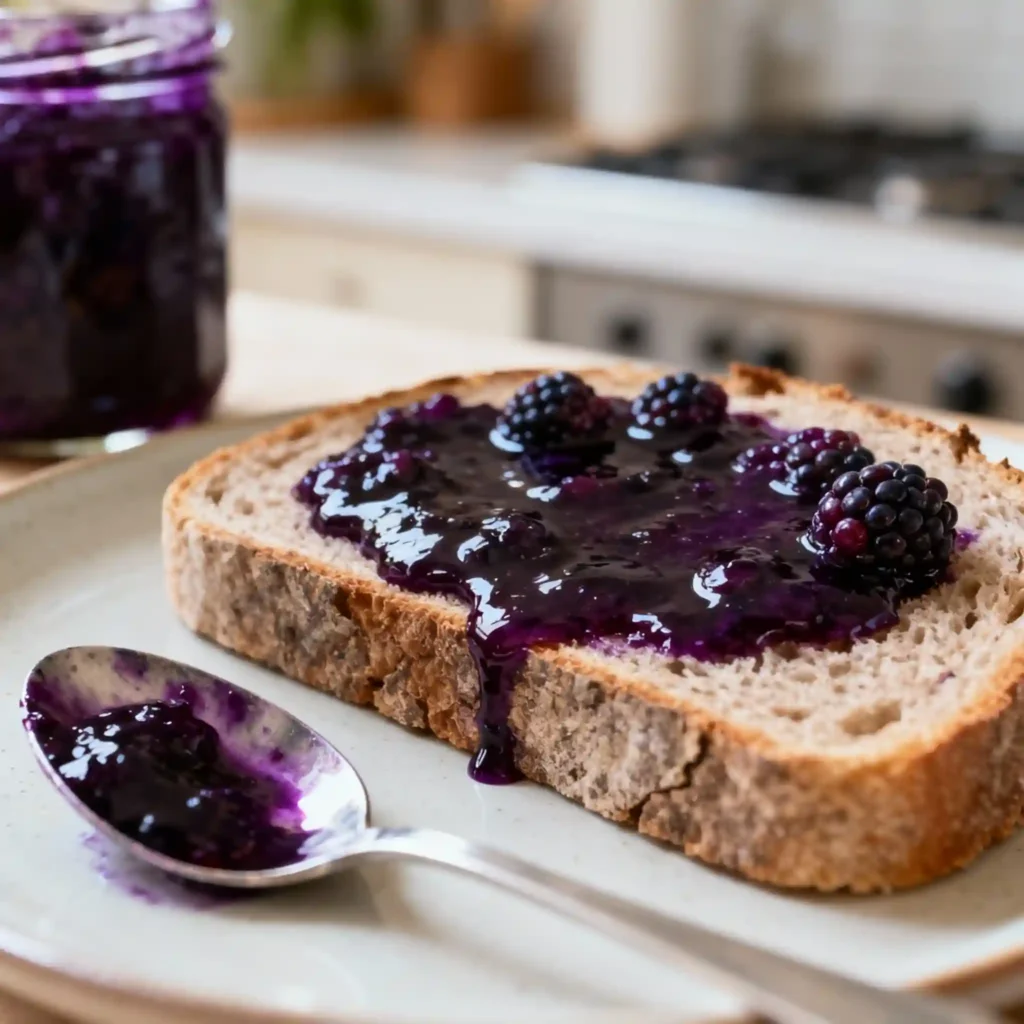
There’s something special about opening a jar of canned blackberry jam in the middle of winter. The rich color, the scent of sun-ripened fruit — it all takes you right back to summer days spent picking berries. Canning isn’t just about preserving food; it’s about saving moments, memories, and flavors that connect us to simpler times.
When you make your own jam, you’re creating something both delicious and meaningful. Whether you’re spreading it on toast, swirling it into yogurt, or gifting it to someone you love, that jar holds a story. Each spoonful reminds you that good things take time — and that’s what makes them worth keeping.
Whether you’re spreading it on toast or gifting it, every jar tells a story. For more berry inspiration, see my Canning Raspberry Jam for a tart cousin to blackberries or revisit Canning Grape Jelly to round out your homemade collection.
Print
Canning Blackberry Jam: A Simple, Sweet Way to Preserve Summer
- Total Time: 40 minutes
- Yield: 5 half-pint jars
- Diet: Vegetarian
Description
Homemade blackberry jam made with simple ingredients — bursting with sweet, tangy flavor and safely canned for long-term storage.
Ingredients
4 cups fresh blackberries
3 ½ cups granulated sugar
2 tablespoons lemon juice
1 box (1.75 oz) pectin (optional)
Instructions
1. Wash and crush the blackberries in a large pot.
2. Add sugar and lemon juice. Stir over medium heat until sugar dissolves.
3. Bring to a rolling boil, stirring constantly.
4. If using pectin, add it and boil for 1 more minute.
5. Perform the wrinkle test: place a drop on a cold plate and check if it thickens.
6. Ladle hot jam into sterilized Mason jars, leaving ¼ inch headspace.
7. Wipe rims clean, seal with lids, and place jars in a boiling water bath.
8. Process jars for 10 minutes, then remove and cool on a towel for 24 hours.
9. Check seals. Store sealed jars in a cool, dark place.
Notes
Use slightly underripe berries for natural pectin.
To skip pectin, cook jam longer until it thickens naturally.
Refrigerate unsealed jars and enjoy within 3 weeks.
Label each jar with the date before storing.
- Prep Time: 15 minutes
- Cook Time: 25 minutes
- Category: Canning, Preserves
- Method: Water Bath Canning
- Cuisine: American
Nutrition
- Serving Size: 1 tablespoon
- Calories: 45
- Sugar: 10g
- Sodium: 0mg
- Fat: 0g
- Saturated Fat: 0g
- Unsaturated Fat: 0g
- Trans Fat: 0g
- Carbohydrates: 11g
- Fiber: 0.5g
- Protein: 0g
- Cholesterol: 0mg


